Fabrication of the LCH Altar
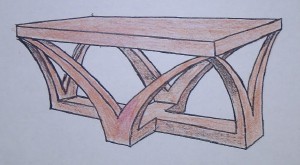 The altar was designed by Reese Fowler of Seattle as part of his concept for a redesigned nave.
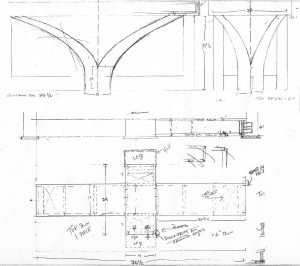 Using Reese Fowlers’ drawing as a starting point, scaled frontal, profile, and top view drawings were created to determine the proportion and structure for the altar. These drawings served as the “blueprint” for the construction.
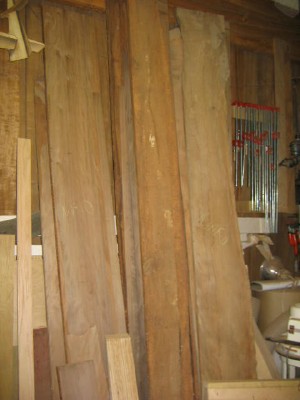 ‘Ohi‘a from the Big Island was brought into the workshop in the form of planks that had been kiln and/or air-dried.
Text and photos © Masako Schwalbenitz
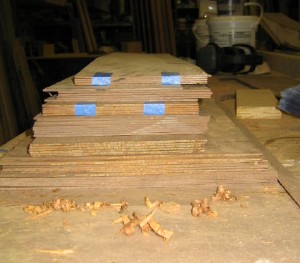 The lumber was cut into thin pieces called veneer, which was used as an outer skin. This ancient technique was used both to match color and grain across a piece, as well as to get the most use out of figured wood.
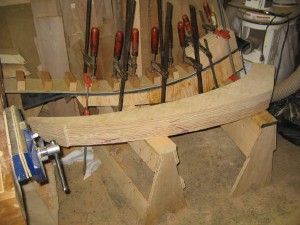 The curved legs were created by laminating many layers of plywood together to create the 4-1/2 inch thickness. A template and shaper (like a large router) was used to true the shape after the plywood was laminated.
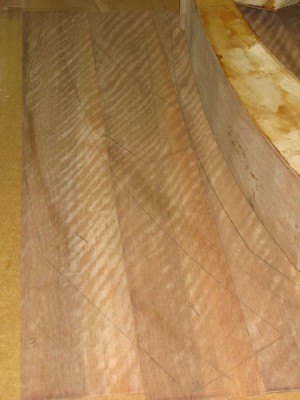 Veneer for the leg faces was laid out sequentially, side by side for each leg half, rather than book-matched (mirror-image) in order to keep the curl of the grain in the same direction. However, each leg half was book-matched to be a mirror image of the other half.
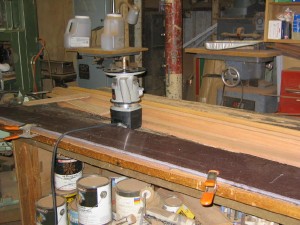 Where two pieces of veneer had to be joined, a spiral flush trim router bit and straight edge (in this case, a custom-milled piece of Corian) were used to create the glue seam.
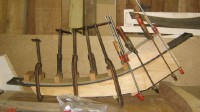 After making the legs forms, the curved surfaces of the legs were veneered using cauls, which evenly distribute and increase the clamping pressure. In this case, both flexible and solid cauls were used.
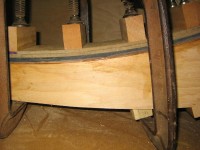
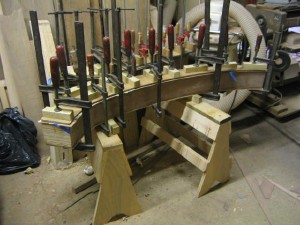 After the leg face veneers were laid out and cut roughly to shape, they were glued to the surface of the leg, this time using flat cauls.
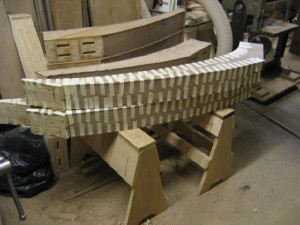 The face veneer was trimmed flush to the leg, then a rabbet was routed on all the edges of the legs. A thin piece of solid wood was glued on the edges and later trimmed flush with the surface of the leg. Masking tape makes an excellent clamping system when gluing small pieces such as this. This small solid piece protects the veneer from incidental dents on the corners of the legs.
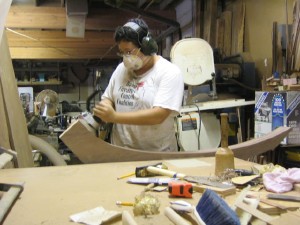 Once joined, the legs would be heavy and unwieldy, so the major sanding of the surfaces was done prior to joining the leg halves.
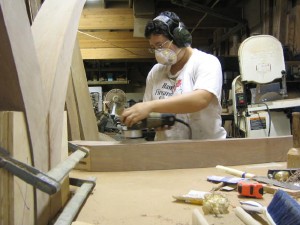 Lots and lots of sanding!
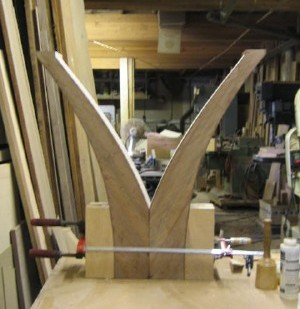 Then, completely veneered leg halves were glued together using mortise and tenon joinery.
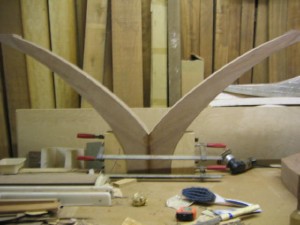 Cauls were created to follow the specific curves of the legs in order to ensure proper clamping direction and pressure.
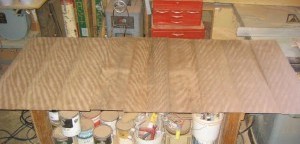 Veneer for the altar top was laid out to determine the sequence of the pieces.
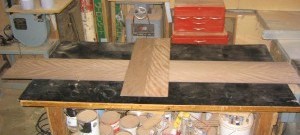 Veneer for the altar base was laid out to determine the sequence of pieces.
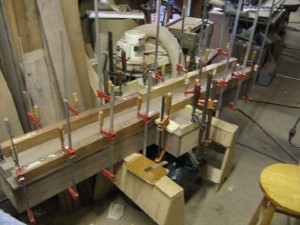 Once all the individual panels were veneered in a vacuum press, boxes were constructed from the veneered panels to form the base. The top of the base is one veneered piece of plywood in the shape of a cross. The top of the base was glued to the box-like structure of the base.
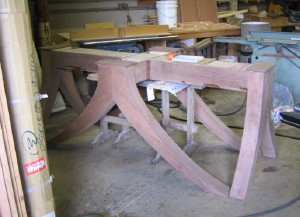 Test-assembly of the legs and base before sanding.
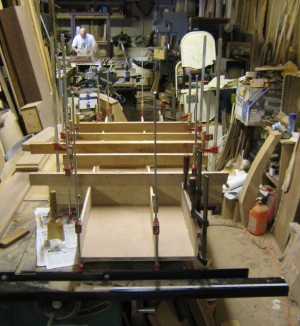 The top of the altar was constructed as a torsion box, which provides structure while eliminating unnecessary weight.
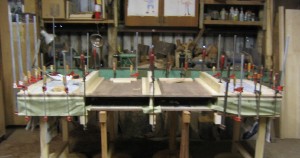 The top “skin” was glued onto the box structure of the top of the altar.
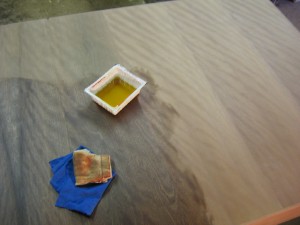 After days of sanding, clear oil was applied to the finished top to act as a stain, darkening the grain without adding a different color. After the oil was allowed time to thoroughly dry, the final lacquer finish was sprayed on.
Moving Day—The new altar was moved into the LCH Nave on Thursday, February 17.
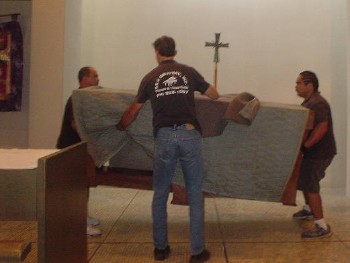 After the old altar was moved off to the side, three workers carried the new altar to the platform and unwrapped it.
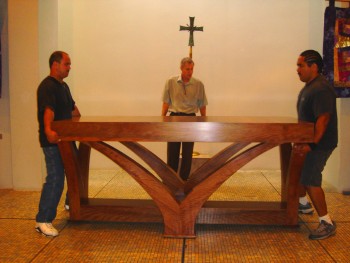 Pastor Barber supervised the workers as they placed the 500-pound altar in the correct position.
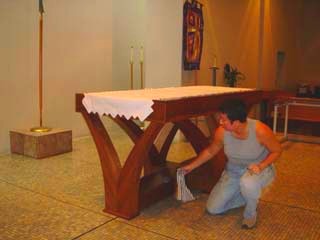 Masako Nitz made sure the wood was free of dust before she left.
Comments welcome at webmaster@lchwelcome.org